
When I first visited Sabah to join the Hunt for Milky Way in 2017, I brought along a borrowed Canon 600D DSLR camera fitted with the EF-S 10-22mm F/3.5-4.5 ultra wide-angle zoom lens. The result was not good because of my lack of experience in taking night photography and long exposure shots. Furthermore, I did not spend time to learn and practise to use the functions of the Canon DSLR.
One big mistake I made was NOT turning off the Long Exposure Noise Reduction function and I have to waited several seconds after every shot before taking the next. An experience astrophotographer, Harris Jeffrey, from Sabah Stargazer helped me to check my camera and corrected the settings. I learned a lot during the 7 nights of shooting at different dark sky locations in Sabah. The locations include: Tambunan Viewing Point, Hounon Ridge (Bundu Tuhan), Tip of Borneo (Kudat), Tambatuon Homestead, Lasau Podi (Kota Belud) and SK New Guakon (Tuaran).
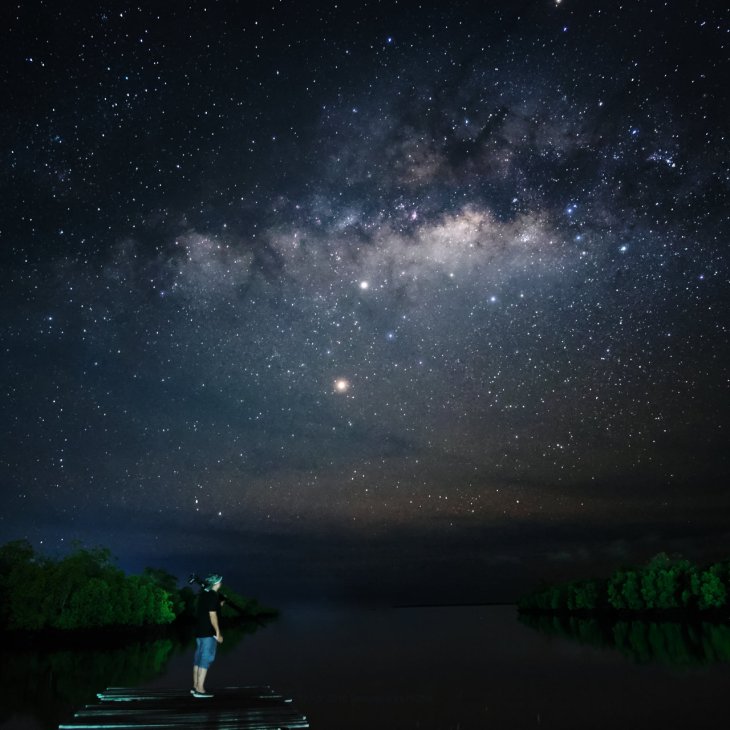
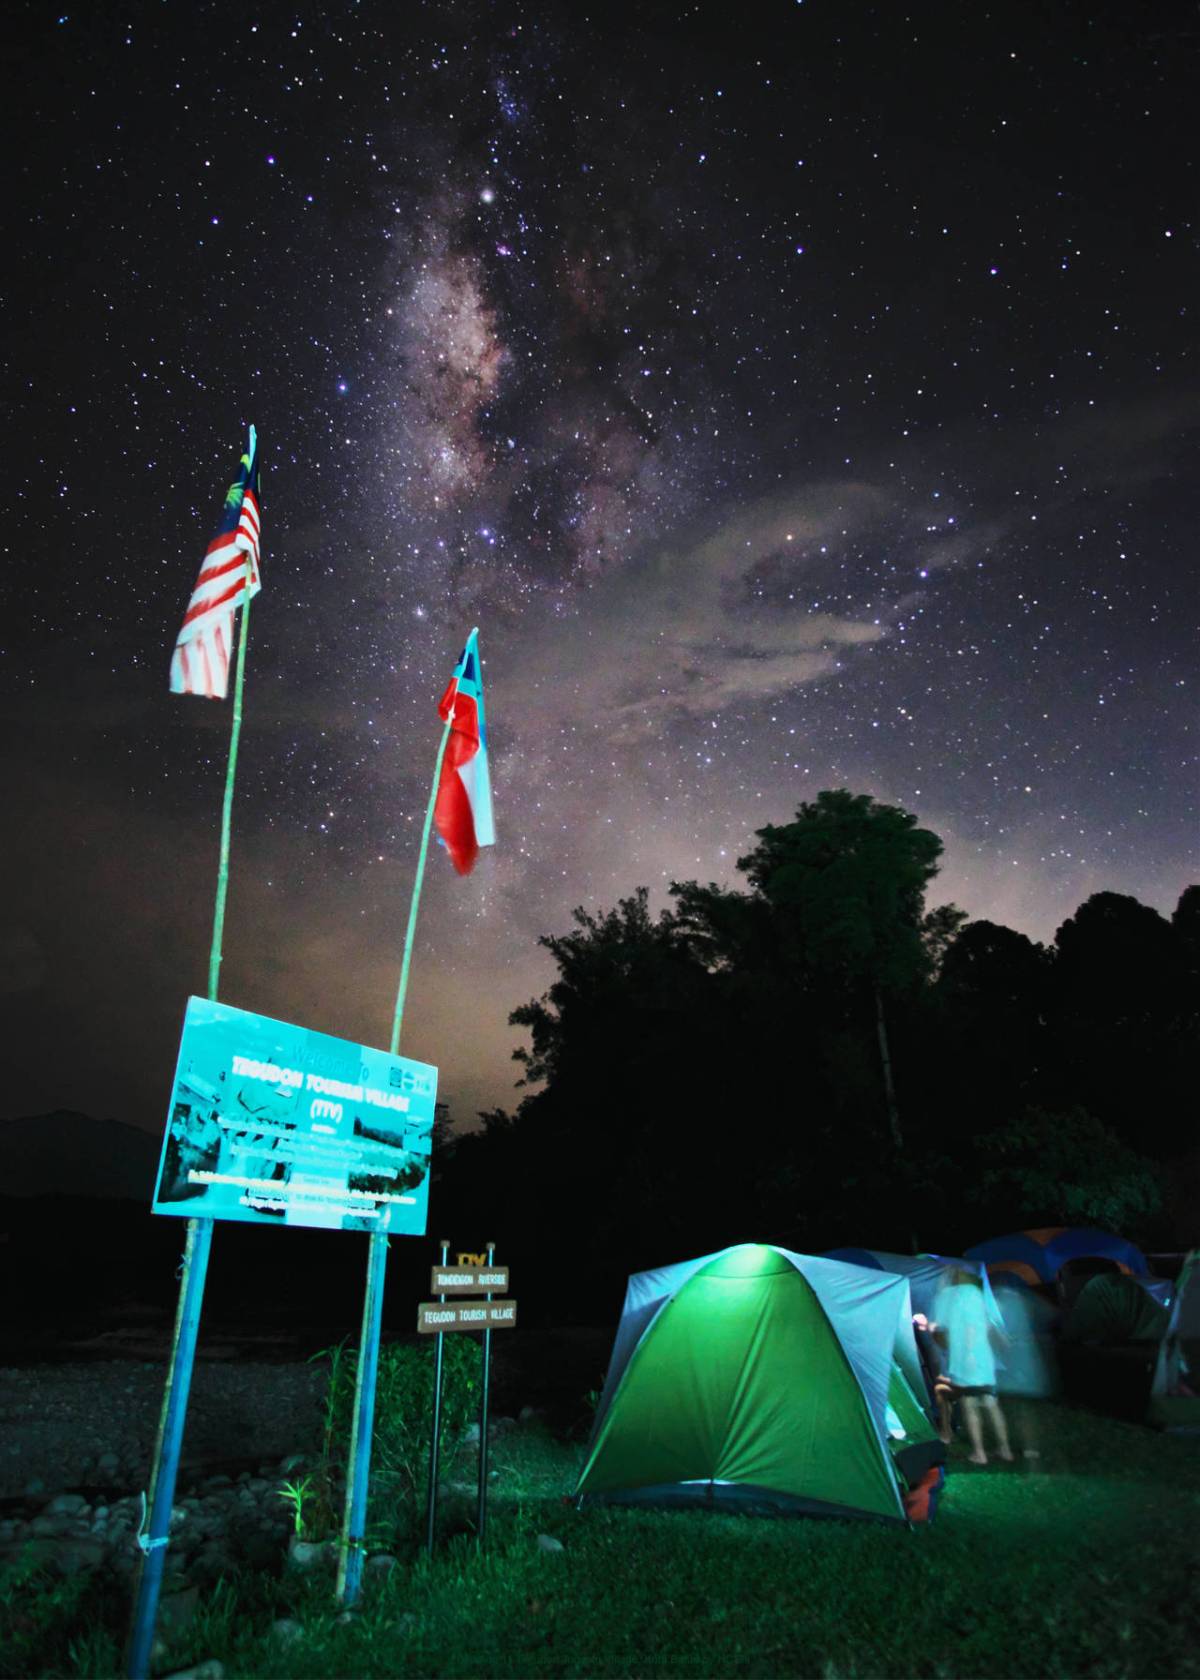
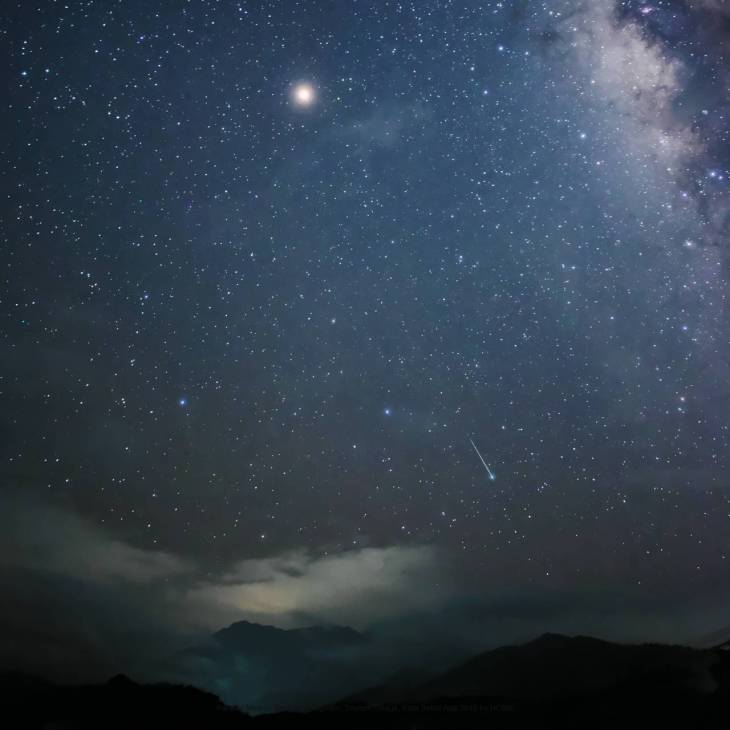
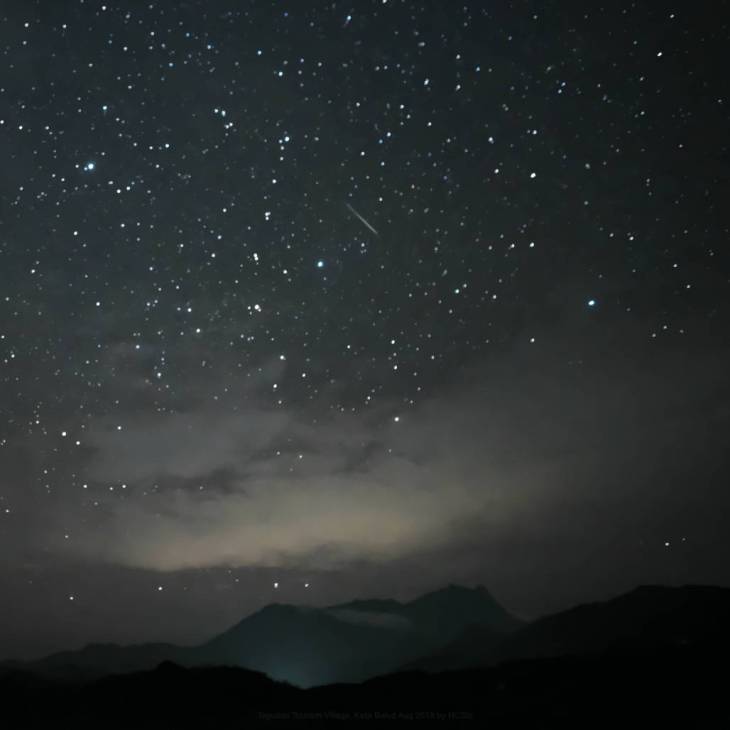
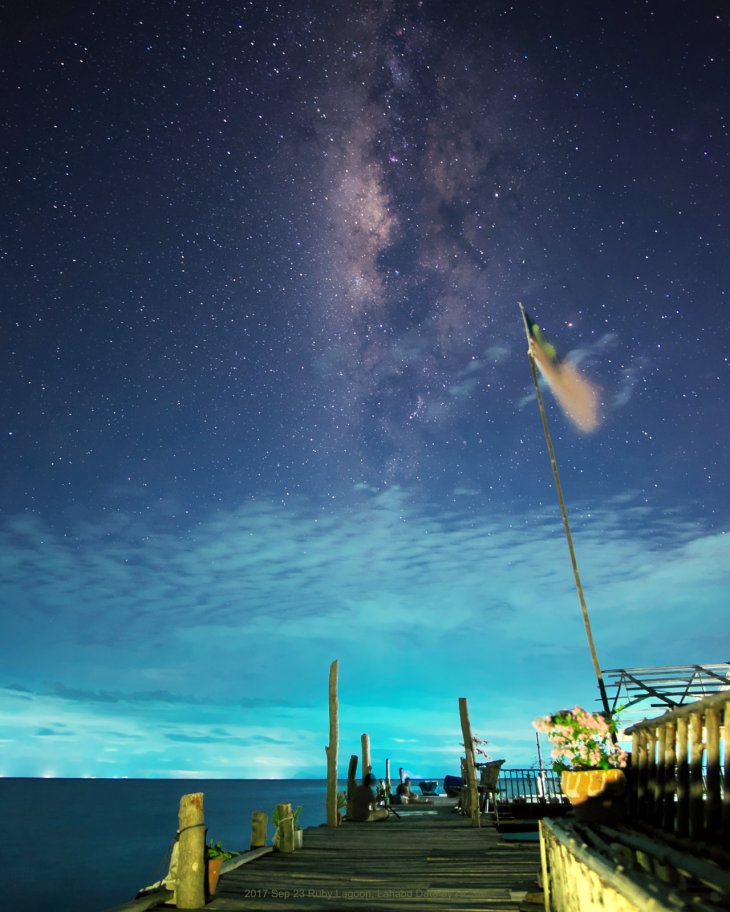
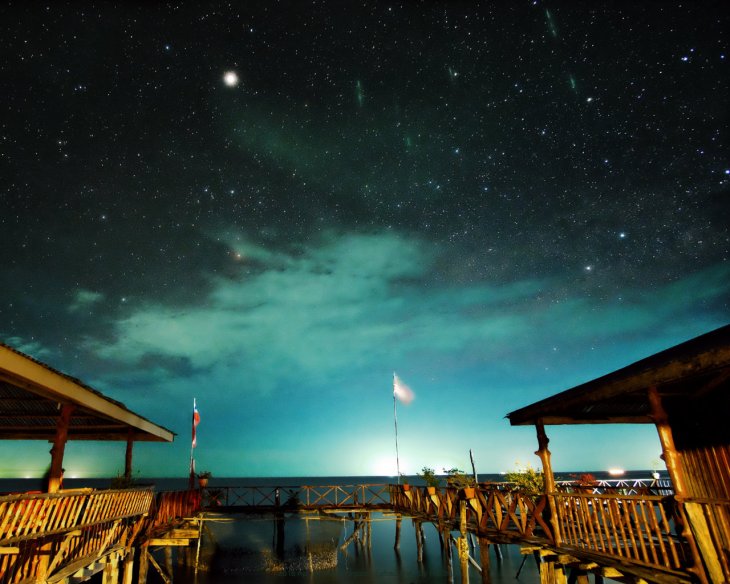
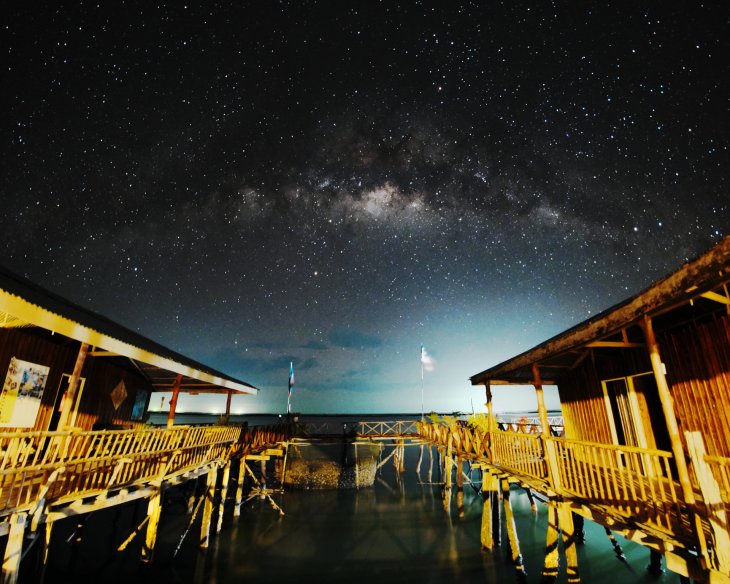
Here’s a couple of Milky Way photos I took with the Canon 600D + EF-S 10-22mm.
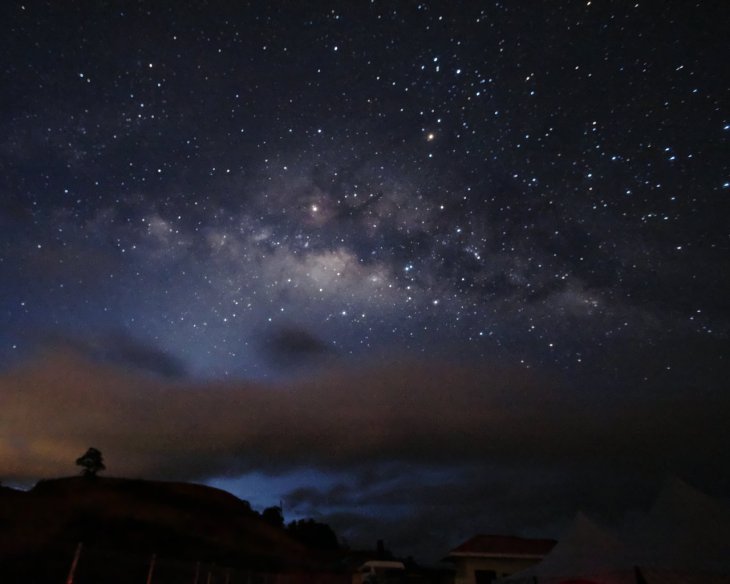
F3.5 | 25s | ISO3200 | Canon 600D + EF-S 10-22mm
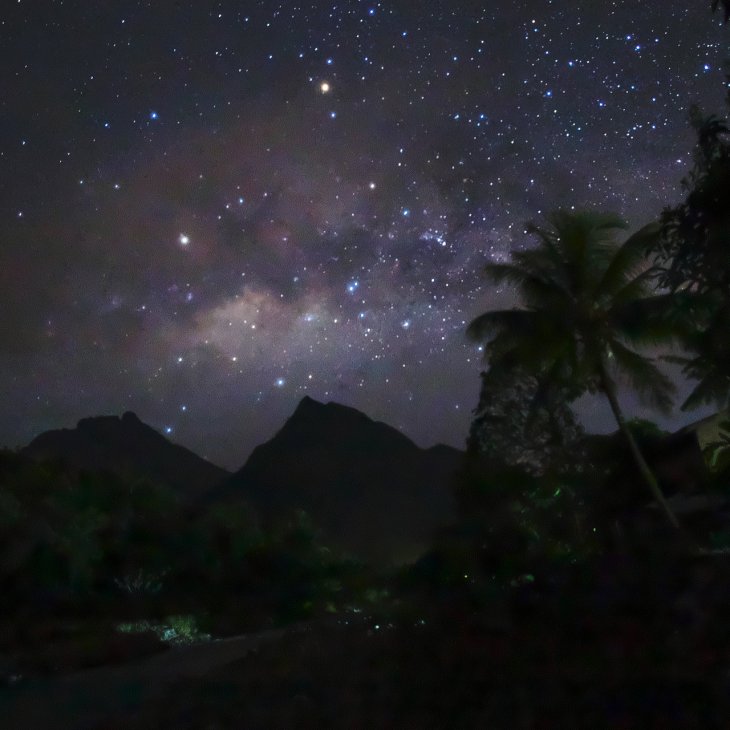
F3.5 | 25s | ISO3200 | Canon 600D + EF-S 10-22mm
As far as camera gears are concerned, I learned that a fast lens is definitely required and it has to be F2.8 or faster, preferably F2.0 or F1.4. Then I can either use a lower ISO to reduce the noise or faster shutter speed to reduce the star trails. As you can see from the images above are noisy and not very sharp.
I was disappointed by the photos but fascinated by the starry sky in Sabah. My new found interest in stargazing prompted me to invest in my own camera and lens setup for Milky Way photography.
Fujifilm X-T1 and Samyang 12mm F2.0
After several days of intense research online, my conclusion was to buy a Fujifilm X-T1 mirrorless camera and the Samyang 12mm F2.0 manual focus lens. This is a light-weight and compact setup consists of the camera body, the lens, the tripod, spare battery and memory card. I do not even need a separate intervalometer remote control because the X-T1 has built-in time lapse function.
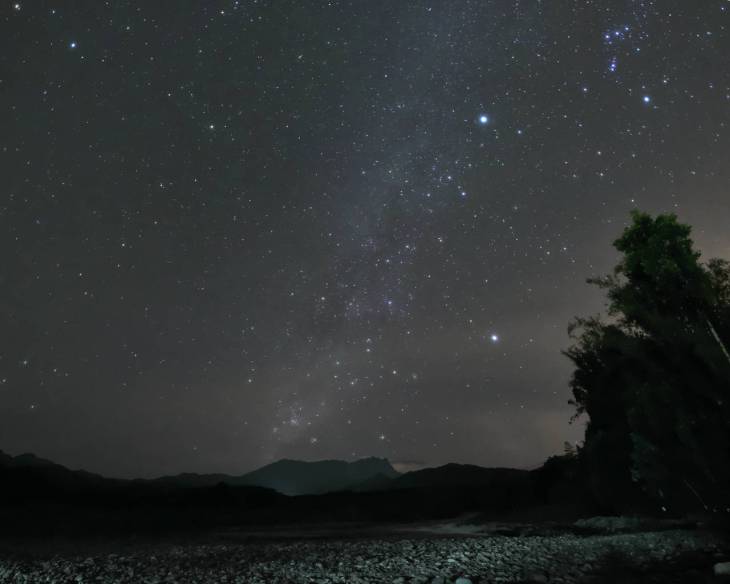
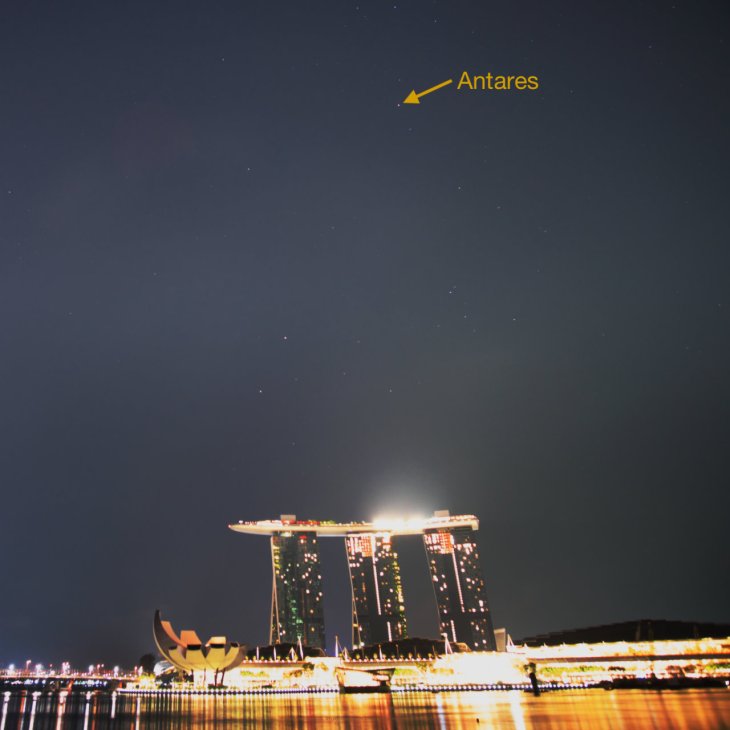
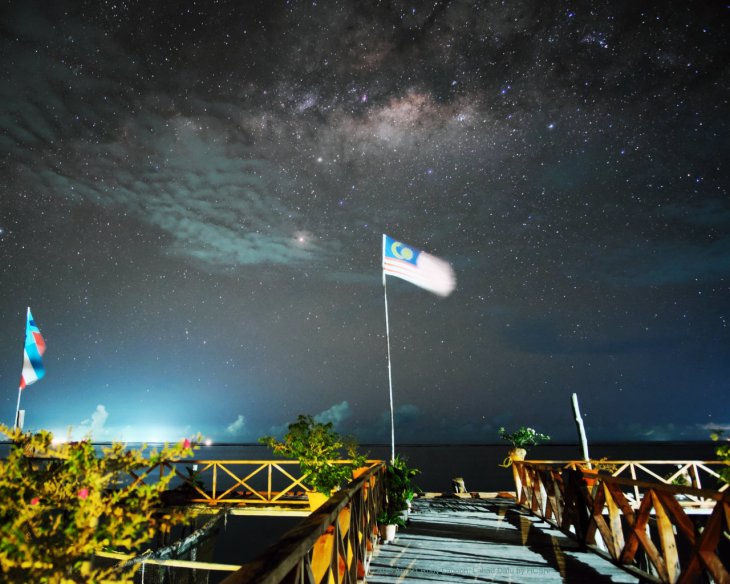
Within a month of returning from Sabah’s Hunt for Milky Way Trip, I went to Tioman Island to test out my new camera and lens. Here’s a couple of shots from that trip.
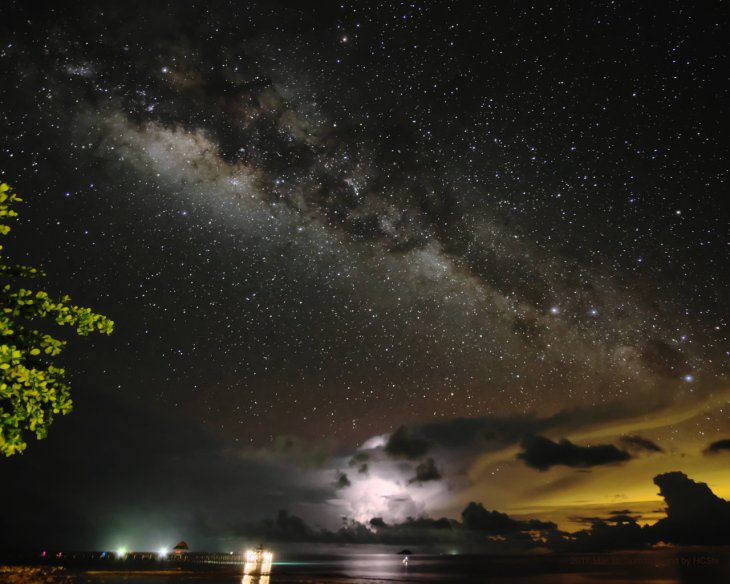
F2.0 | 25s | ISO5000 | Fujifilm X-T1 + Samyang 12mm F2.0
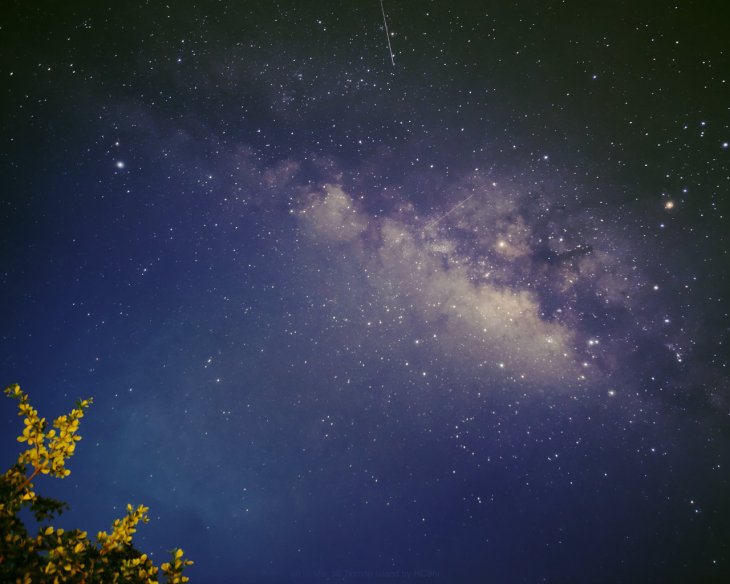
F2.0 | 20s | ISO3200 | Fujifilm X-T1 + Samyang 12mm F2.0
I was quite happy with the X-T1 camera and Samyang 12mm lens. The night skies and Milky Way photographs I shot at Tioman Island were much better than those I shot in Sabah a month earlier. They are sharper and less noisy even at ISO6400. And I love the Fujifilm colours straight out of camera.
It has been more than a year since I shot with the X-T1/Samyang 12mm setup and used it on several trips to Malaysia to shoot the Milky Way and the meteor showers.
My Camera Settings for Milky Way Shots
Here’s a checklist of settings on my X-T1 when I’m going on a Milky Way trip:
- Set Image Quality to record in RAW format.
- Set Long Exposure NR to “OFF”
- Pre-focus the lens to infinity when there’s still daylight.
- Set the white balance to “Auto”. Sometimes, I’ll select custom setting and use “4000K”.
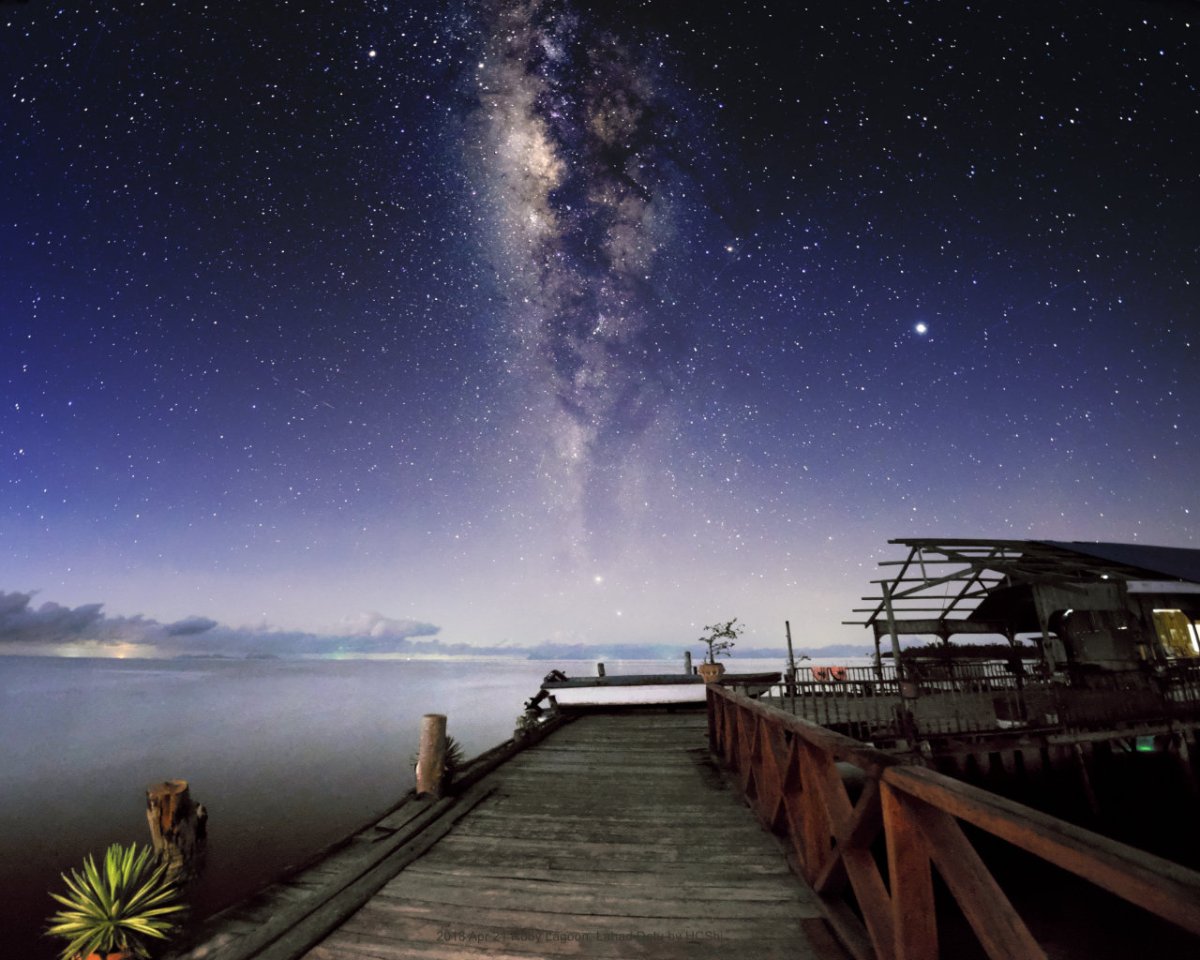
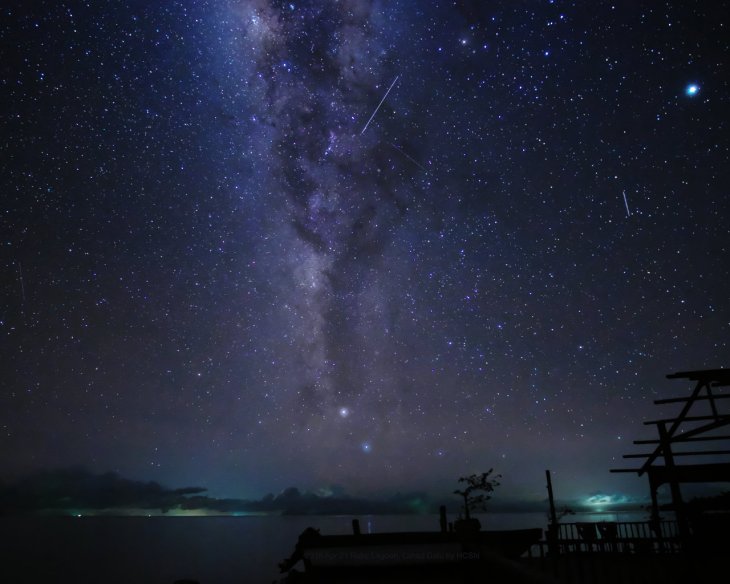
I use manual mode for all the Milky Way shots. I always start with a couple of test shots at this exposure setting: F2.0, 25s and ISO 6400. Then I’ll adjust the shutter speed and sometime the ISO to get the ideal exposure for the image. I tend to overexpose most of my shots and then correct it in the post-processing. However, the longer shutter speed caused the star trails and the brighter stars would not appear to be perfectly circular. In order to shave a few more seconds off the shutter speed, I’ll need a faster lens. And that will be a topic for another blog post.
F2.0 | 25S | ISO6400 | FUJIFILM X-T1 + SAMYANG 12MM F2.0


You must be logged in to post a comment.